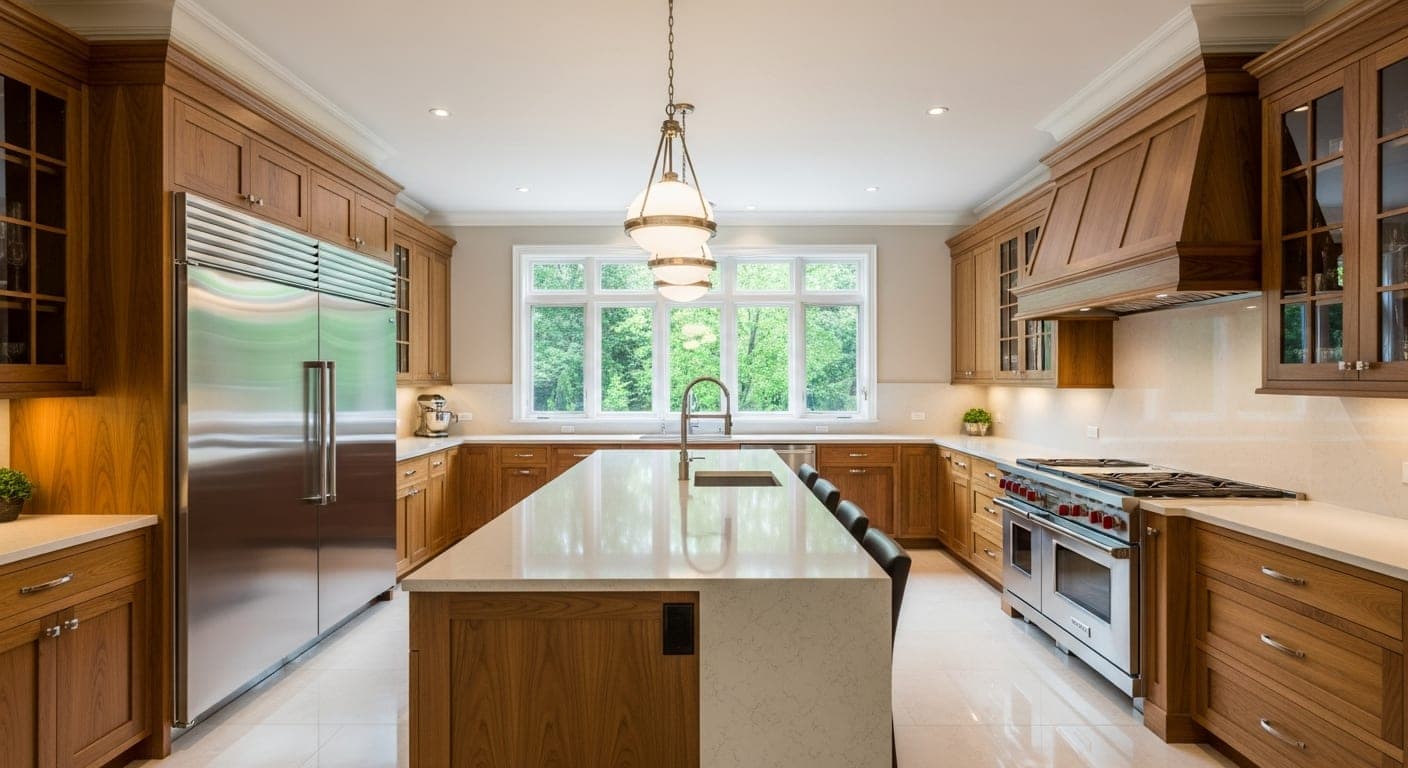
A kitchen renovation is one of the most significant home improvement projects you will undertake. It involves multiple trades, substantial investment, and a period of disruption to your daily routine. Knowing what to expect at each stage reduces stress, helps you make better decisions, and ensures the final result aligns with your vision.
This guide walks through the typical process for a custom kitchen renovation in Toronto, from the first phone call to the final walkthrough. While every project is unique, the fundamental steps remain consistent.
Step 1 -- Tell Us What You Are Looking For
Every kitchen renovation begins with a conversation. This first step is free and comes with no obligation. You share what you are looking for -- your design preferences, functional priorities, budget range, and timeline. A thorough cabinet maker will ask detailed questions: How do you use your kitchen? How many people cook at the same time? Do you entertain frequently? What frustrates you about your current layout?
This is also when you should ask your own questions. Inquire about construction methods, material options, hardware standards, warranty coverage, and the manufacturer's experience with projects similar to yours. A reputable company will answer transparently and provide references or a portfolio of completed work.
Step 2 -- General Pricing Estimate
Based on the information you share in Step 1, your cabinet maker provides a general pricing estimate. This gives you a realistic sense of what your project might cost before you commit to anything. It helps you determine whether the scope you have in mind aligns with your budget and allows you to make adjustments early in the process.
Step 3 -- In-Home Visit With Mobile Showroom
Once you are ready to move forward, your cabinet maker visits your home with a mobile showroom. This is where the project starts to take shape. You can see and touch actual material samples, door styles, hardware, and finish options in the real lighting conditions of your kitchen rather than under the fluorescent lights of a retail showroom.
During this visit, you pick samples, discuss layout options, and make key decisions about the direction of your kitchen. The cabinet maker also takes detailed measurements of every wall, corner, window, door opening, plumbing location, electrical outlet, and any other feature that affects cabinet placement. In Toronto's older homes, walls are frequently out of plumb and floors are rarely perfectly level. These conditions are documented so that cabinets can be built to accommodate them perfectly.
The measurement process typically takes one to two hours, depending on the complexity of the space. Expect the technician to note ceiling heights, soffit locations, the position of HVAC vents, and the clearance required for appliances. If you are keeping existing appliances, their exact dimensions will be recorded. If you are purchasing new ones, your cabinet maker will want the specification sheets so cabinets can be built to fit.
Step 4 -- Accurate Pricing Based on Selections
With your material selections and precise measurements in hand, your cabinet maker provides an accurate, detailed quote. This itemizes each component: cabinet boxes, doors, drawers, hardware, finishes, countertops (if included), and installation. A transparent quote allows you to understand exactly where your money is going and make informed adjustments if the total exceeds your budget.
This is different from the general estimate in Step 2 because it reflects your actual choices -- the specific materials, finishes, hardware, and layout you selected during the in-home visit.
Once you approve the final quote, a deposit is typically required to schedule production. The exact terms vary by manufacturer.
Step 5 -- Design Finalization and Manufacturing
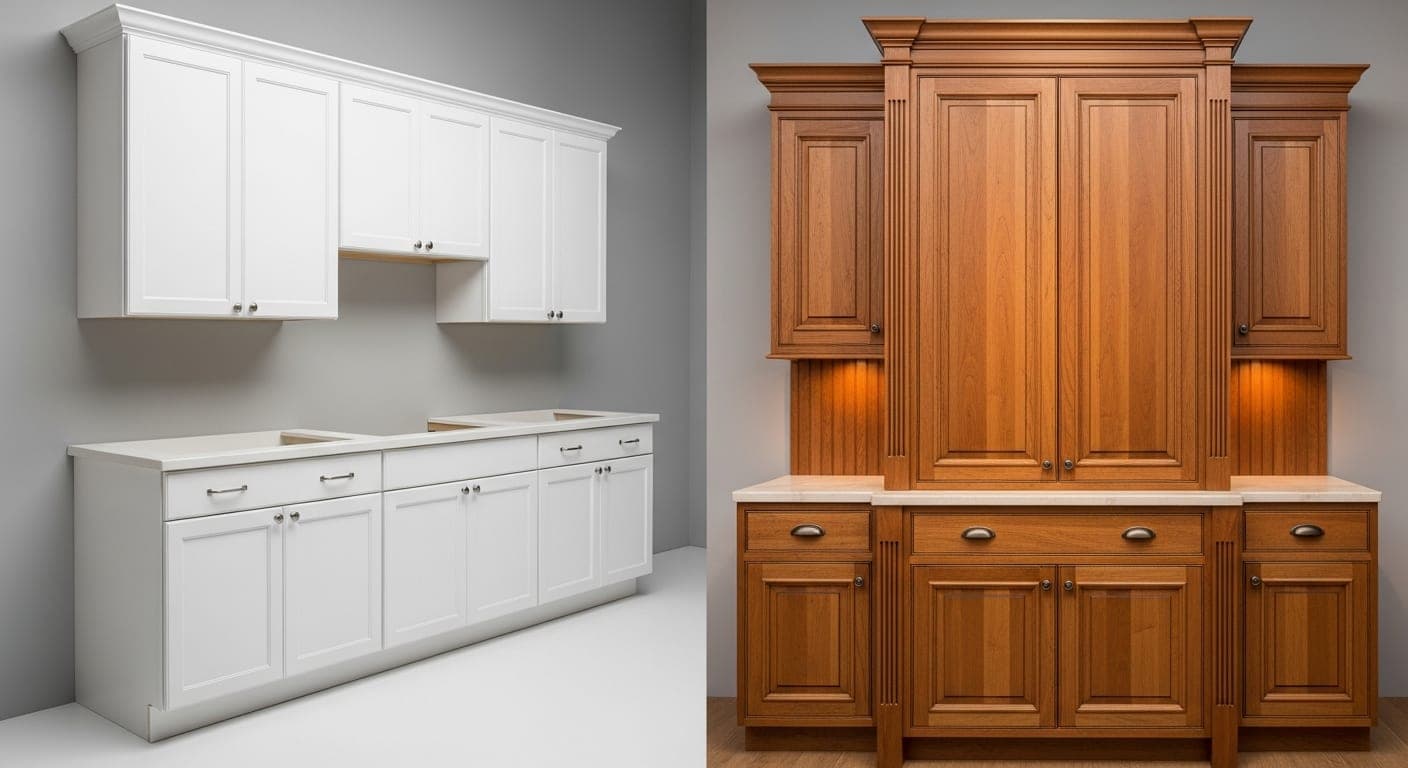
After approval, the design is finalized through 2D drawings and then brought to life with 3D renders so you can see exactly what your kitchen will look like before production begins. This design phase often involves one or two revision cycles. You might decide to add a pull-out pantry, swap a bank of upper cabinets for open shelving, or change your countertop selection. This iterative process is normal and expected.
Once the design is approved, your kitchen enters production. For a Canadian-made custom kitchen manufactured locally in the GTA, the typical production timeline is six to eight weeks. This timeframe covers material procurement, CNC cutting, edge banding, assembly, finishing, and quality control.
The finishing process itself has a significant Finishing Impact on the timeline. While simple staining is faster, multi-step premium paint and glazing add additional cycles to the manufacturing timeline. However, these extra days result in a surface that is vastly more durable and resistant to the humidity fluctuations common in Toronto homes.
During manufacturing, your cabinets are built individually to the exact specifications documented in the design phase. Cabinet boxes are constructed from quality sheet goods, typically plywood or high-grade MDF. Doors are fabricated in your chosen style, whether shaker, flat panel, high gloss, or natural wood veneer. Finishes are applied in controlled spray booth conditions, with professional cabinet-grade coating systems delivering a factory-perfect result that cannot be replicated with on-site painting.
Hardware, including soft-close hinges, full-extension drawer slides, and any specialty mechanisms like electric auto-open systems, is tested and pre-installed where possible. This reduces installation time on site and ensures consistent quality.
Throughout the manufacturing period, your cabinet maker should provide updates on progress and alert you to any questions or decisions that arise. If you selected countertops through the same manufacturer, templating for stone countertops usually happens after upper cabinet installation, as the countertop must fit precisely against the finished wall cabinets.
You can learn more about how this stage works by visiting our process page.
Step 6 -- Delivery and Installation
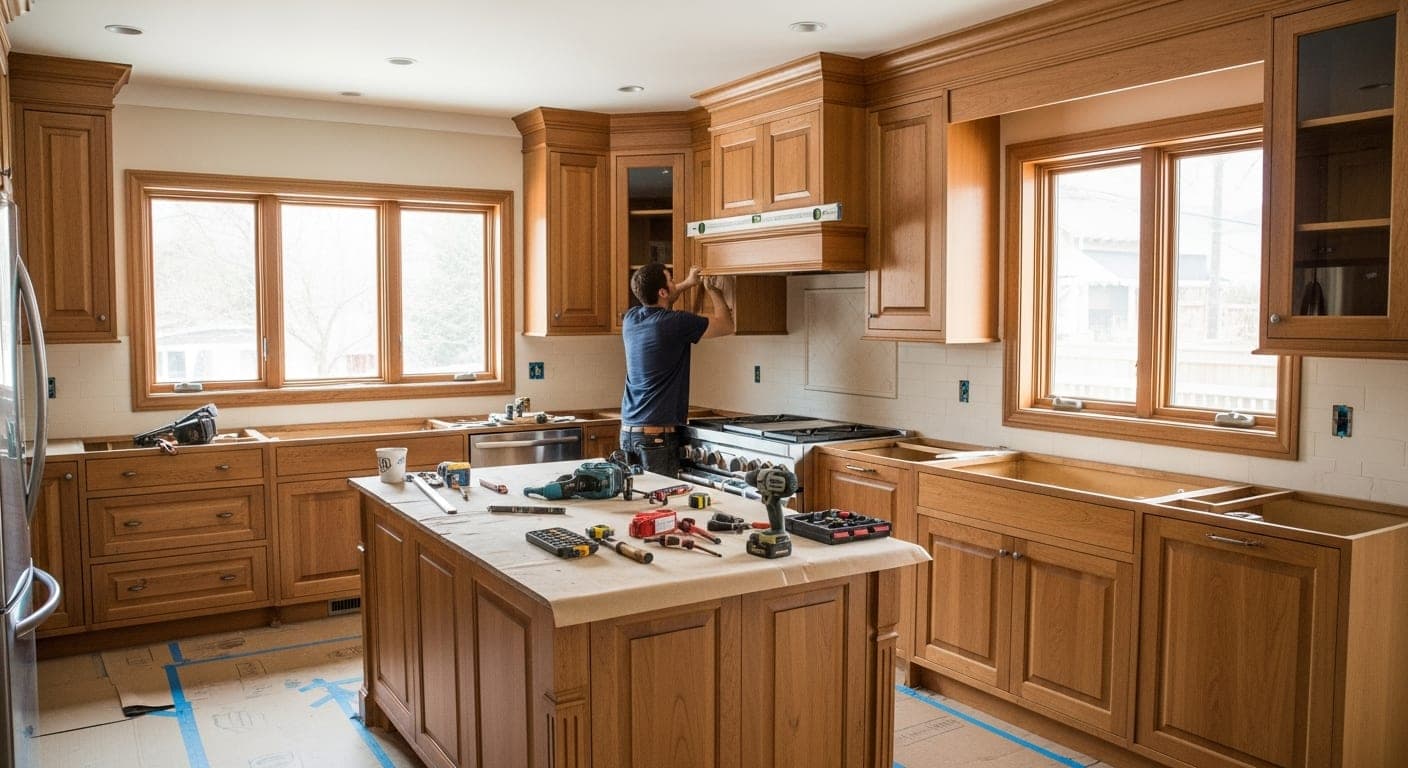
Delivery and installation is where months of planning become reality. A professional installation crew will arrive with your completed cabinets and all necessary hardware, prepared to transform your kitchen.
Before installation begins, your existing kitchen must be demolished and the space prepared. Depending on the scope of your renovation, this may include removing old cabinets and countertops, patching and painting walls, updating plumbing and electrical to match the new layout, and ensuring the floor is ready. Some homeowners handle demolition and preparation themselves or through a general contractor; others have their cabinet maker coordinate the full project.
Upper cabinets are typically installed first, followed by base cabinets. This sequence allows installers to work without base cabinets obstructing access to the walls. Cabinets are shimmed and levelled to ensure perfectly aligned doors and drawers regardless of any irregularities in the walls or floor.
Installation for an average kitchen takes three to four days, depending on complexity. While many fear a month-long disruption, we have found that The Real Timeline depends on coordination. If the project is pre-ordered (6 weeks) and tightly coordinated with plumbers and electricians, a full swap can often happen in just 5 to 6 days. We aim for this 'surgical' approach to minimize the time you spend living without a functioning kitchen. After cabinets are installed, countertop templating and fabrication occur, adding approximately one to two weeks. Final items like backsplash, under-cabinet lighting, and appliance hookups may follow.
The project concludes with a walkthrough. Your installer will demonstrate all hardware functions, including soft-close mechanisms, drawer systems, and any specialty features. You will inspect every cabinet, drawer, and door for proper alignment, finish quality, and hardware operation. Any items requiring adjustment are documented and addressed promptly.
Your cabinets come with a lifetime hardware warranty and a five-year finish warranty, giving you confidence that your investment is protected.
How Long Does a Kitchen Renovation Take?
From your initial consultation to a completed, functional kitchen, a typical custom kitchen renovation in Toronto takes approximately ten to sixteen weeks. Here is a general breakdown:
- Consultation, measurement, and design: Two to four weeks
- Manufacturing: Six to eight weeks
- Installation: Three to four days for cabinetry (surrounding trades can extend this)
- Countertop templating and fabrication: One to two weeks
- Final details and walkthrough: Two to three days
Several factors can extend this timeline. Complex projects with multiple trades, permit requirements in certain Toronto condos, and material availability for specialty items can all add time. Conversely, straightforward projects with decisive homeowners and readily available materials can move faster.
The most effective way to keep your renovation on schedule is to make decisions promptly during the design phase, finalize appliance selections before manufacturing begins, and maintain clear communication with your cabinet maker throughout the process.
Planning for Life Without a Kitchen
During installation, you will be without a functioning kitchen for one to three weeks. Experienced renovators recommend setting up a temporary kitchen in another room with a microwave, a kettle, a toaster oven, and access to a utility sink or bathroom. Having a plan for meals during this period, whether that means batch cooking in advance, relying on takeout, or using a barbecue, significantly reduces the stress of the renovation.
How to Prepare Your Home for Cabinet Installation
Proper preparation before your installation crew arrives can make the difference between a smooth, efficient process and a stressful one. Taking care of logistics in advance allows the installers to focus entirely on delivering a precise, high-quality result.
Clear the kitchen area completely. Remove all dishes, cookware, food, small appliances, and personal items from your existing cabinets and countertops before demolition day. This sounds obvious, but many homeowners underestimate how long it takes to empty a kitchen that has accumulated years of belongings. Start packing at least a week before the scheduled installation date. Label boxes clearly so you can find essentials during the renovation period.
Set up a temporary kitchen space. The cabinet installation itself typically takes three to four days, but you may be without a fully functioning kitchen for longer while surrounding trades finish their work and countertops are templated and fabricated. Designate a space in another room - a dining room, basement, or even a corner of the living room - and equip it with the essentials: a microwave, a kettle, a toaster oven, disposable plates and utensils, and a cooler or mini-fridge for perishables. If you have access to a utility sink or a bathroom nearby, that will serve as your water source for food preparation and cleanup. Many homeowners find that batch cooking a few meals in advance and relying on takeout for the rest makes the transition manageable.
Protect adjacent rooms from dust and debris. Kitchen demolition generates a significant amount of dust, particularly when removing old drywall, tile backsplashes, or flooring. Hang plastic sheeting over doorways leading to the rest of your home to contain dust migration. Move furniture and rugs away from the kitchen entrance. If you have hardwood floors in adjacent rooms, consider laying down protective paper or drop cloths along the traffic path between the kitchen and the front door.
Ensure clear access for delivery. Custom cabinets are delivered on the day of installation, and the delivery crew needs a clear path from the truck to the kitchen. Measure doorways, hallways, and any tight corners in advance to confirm that cabinet boxes and countertop pieces can pass through without difficulty. If you live in a Toronto condo, coordinate elevator bookings with your building management well in advance - most buildings require at least 48 hours' notice and restrict deliveries to specific time windows.
Disconnect appliances in advance. Your refrigerator, dishwasher, stove, and range hood should be disconnected and, if possible, moved out of the kitchen before the installation crew arrives. Gas appliances must be disconnected by a licensed technician. If you are keeping existing appliances, store them safely in a garage or adjacent room where they will not be damaged during construction.
Plan for three to four days of installation. A typical Apico kitchen installation takes three to four days for the cabinetry, with countertop templating and fabrication adding one to two weeks after that. During installation, the crew will need uninterrupted access to the kitchen. If you have children or pets, arrange for them to be in a different part of the house or away from the home entirely during the busiest parts of the installation. The noise and activity can be disruptive, and keeping the work area clear helps the installers work efficiently and safely.
Ready to start planning your custom kitchen renovation? Request a free consultation to discuss your project, see material samples, and receive a detailed timeline for your specific kitchen.